I’ve already talked about wedding season, but I still have more to tell. A few weekends ago, along with another bridesmaid (Sydney), I helped host a bridal shower for Kat. I love Kat, and would have spent a million dollars on her shower if I had it, but I didn’t so we tried to save money by making a lot of the decorations, recycling, and preparing the food ourselves. I also actually really like making decorations so I probably would have made them anyways.
I’ve had an idea for a while now. I wanted to make the invitation look like a newspaper and make a lot of the decorations out of newspaper. I wanted to do this for my sister’s baby shower, but no one else could really see the vision. Kat is someone who really appreciates diy projects and I knew she would like this concept.
After I played around on Pinterst for a while, I realized that I am not the first person to ever have this idea (which there really aren’t many original ideas anymore). I incorporated some of my own ideas and some of what I saw online and got to work. Her wedding colors involve green so I knew that would be a good accent color and I also used some burlap and twine to give it an earthy feel.

This is the top of the invitation that Sydney designed. I removed the bottom part to remove personal details and telephone numbers. The entire invitation was like a newspaper announcement.


Here is the entrance to the party. As you walk up the stairs you see a beautiful chalk board. The board and easel we borrowed from my mom, and when I went to pick it up it already had this gorgeous writing on it from a previous shower she hosted. My sister wrote it, and since it looked so awesome I just left it. The wreath is like a mesh wreath, but out of burlap. My mom makes these and this was actually my Christmas wreath, but I took the red off and added green and newspaper flowers. There are also big newspaper balls hanging on both sides too. The original plan was to have more decorations outside, but it rained that day, and the whole week before, so some of those decorations got nixed.


As you walk into the door the first thing you see is the gift bags so you know to get them when you leave. Inside the gift bags were Hershy kisses and seed bombs of green and grey. Kat’s wedding invitations are printed on seed paper that can be grown later, so I thought it would be a cool idea to also have something to plant from the shower. These were fun to make, but also a mess. There are a ton of tutorials online to make these. All the instructions are relatively the same. They started sprouting the morning of the shower (oops). I hope everyone else’s grew. The one I kept did not, but I also kill all plants.


This bar was set up for drinks and cake balls. I use a cake ball maker called “Baby Cakes”. If you like cake balls this thing is amazing. I use it all the time. I think they have it at Hobby Lobby and Kohl’s. We had lemonade, champagne punch, kid friendly punch, and water. I loved the drink containers that Sydney had. I would love to have some like these for future parties. We had my favorite paper decorative straws! The heart streamers were made from newspaper and green card stock.


There were fresh flowers from Sydney’s yard scattered all over the place. We used blue vintage mason jars borrowed from my mom, milk glasses, and single stem vintage vases from Sydney’s house.


On the coffee table there were just some decorations that kind of matched. Most of the items were either found at my house and my mom’s garage. The metal letters were purchased at Hobby Lobby and were a super cute little touch.

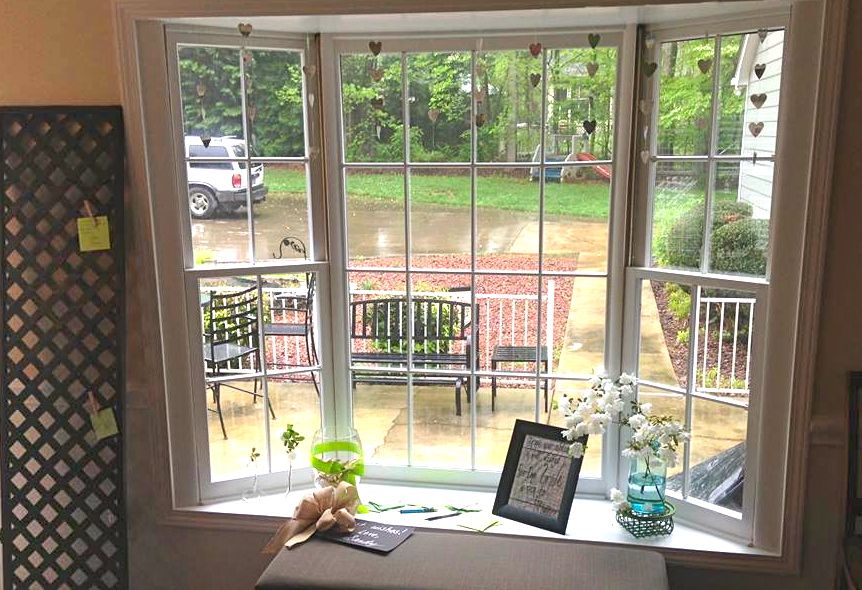
There was a place to leave advice and well wishes for the bride. After everyone made their notes they clothes pinned it to the black lattice. You can see the cute single flower vases in the window as well as more heart garland hanging from the top.
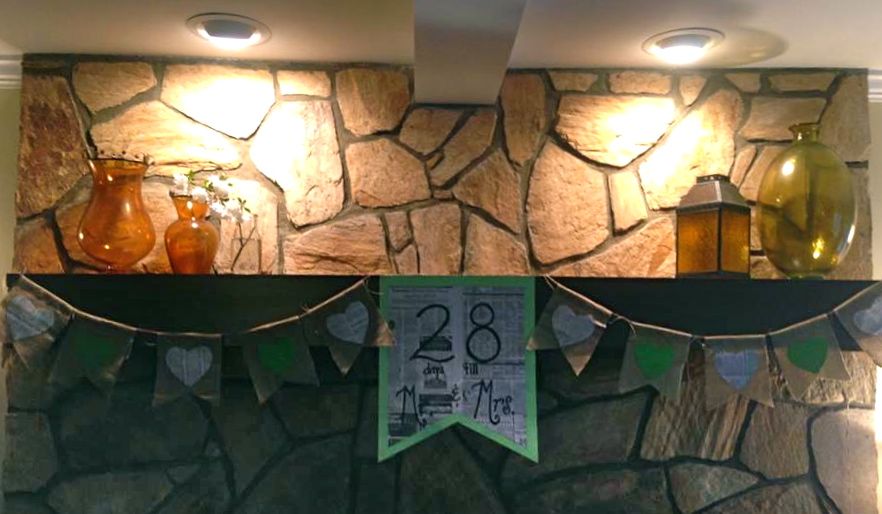
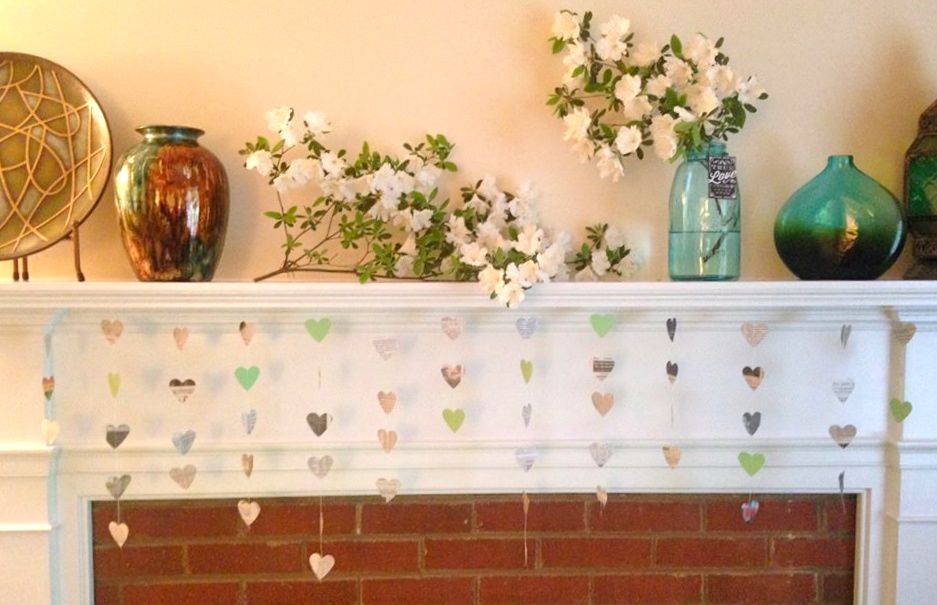
There were 2 mantles to decorate. The first one had a lovely countdown until the wedding. Now it’s only 6 days away. I’m so excited. On the second mantle we used the heart garland and beautiful flowers.


Here is the yummy food table. It’s decorated with plastic table cloths, burlap and newspaper runners, and an assortment of newspaper and tissue paper flowers. We also tried to pick food that matched the color scheme of the shower, so black, white, and green. My favorite might have been the chocolate drizzled pop corn. Sydney and her mom had most of the serving stuff and the vase, metal basket, and wooden wreath around the vase were borrowed from my home.

This was a last minute decoration idea we made the night before. We took the 2 canvases off the wall and redecorated them to match the party.

Here is a picture of me with Sydney’s daughter. It was the only picture I took after guest started arriving. I guess I was just enjoying the party too much!

Bride, bridesmaids, and flower girl . . . this weekend is going to be so amazing! I’m so excited for Kat.
Here are some simple tutorials for the stuff I made
Heart Garland – I used a heart hole punch to make a ton of hearts from newspaper and card stock. I then sewed them together. I used a straight stitch. You have to pull them through a little bit because the feeders are really made for fabric, not paper. Also you have to gently pull them after you stitch through them so there is a space between the 2 hearts. If you don’t hold the previous heart back the thread will pull them close together and I wanted a space.

Newspaper runners – I figured out how wide I wanted my runner and cut strips of newspaper that width. Since it’s a pretty big visible chunk of paper I made sure It didn’t say anything too bad on it. I used clear tape to tape the pieces together on the back side. When we laid them on the table we cut them to the desired length.
Gift bags/popcorn bags – I used brown paper bags from the dollar store. Cut out a heart from newspaper and used a glue stick to hold it in place. The glue stick keeps the paper from getting wrinkles. Then I wrote “K + D” on each heart with a sharpie. Fold the top down and punch 2 holes. Tie off with twine after they are filled with goodies.
Banner – I used a poster board, newspaper, glue stick, and a sharpie to make the countdown in the middle. Cut out pendant shapes out of burlap, fold the top over, and sew with a straight stitch. This creates a little hold to run the twine through. Use hot glue to put the hearts on. It will hold best to the burlap and is not too messy since it dries fast. Run the twine through all the pieces and hang up.
Newspaper flowers/balls – I used these on the wreath, the hanging balls outside, and on the table. You just have to cut the paper different sizes depending on how big you want the ball to be.

Cut the newspaper into a similar shape to this. I didn’t have a pattern, just free hand. I would cut about 5-6 pieces at a time. They all looked a a little different, but it’s okay. I personally like the variety.
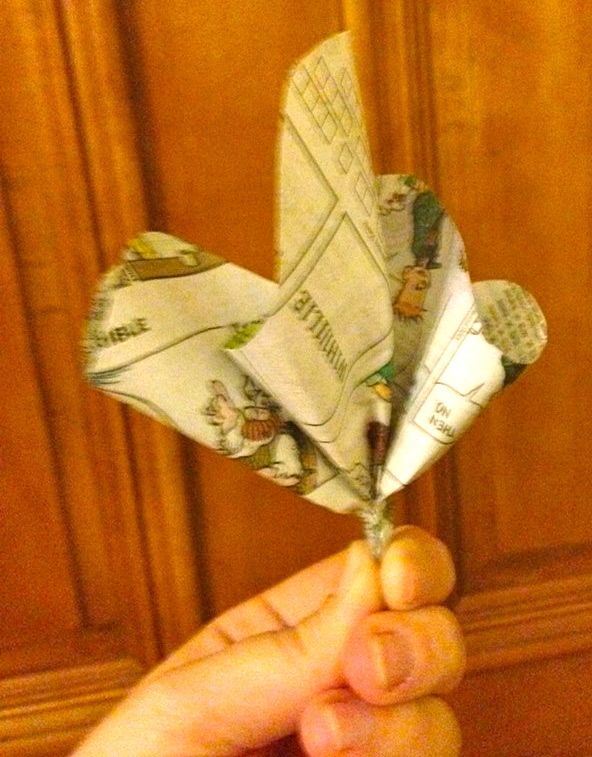

Pinch the middle of the paper and fold and smoosh it together so it forms a shape similar to this. Then use a piece of clear tape around the point to hold it together. It can be a pretty small piece of tape. I made a ton of these while watching t.v. to start with, and then just used what I needed.

I used card stock circles to make a base. Use hot glue to hold the newspaper to the base. I would use about 5-6 petals on one side of the circle to make half the ball. You just have to manipulate them as you glue to make sure you don’t leave any blank space. Each ball/flower will need 2 of these.

Now you glue them together and either add a stem or string. The wire I got for the stems was not heavy enough to hold the flowers so I twisted 2 pieces together. Still using hot glue, glue the stem to one side of the flower, then glue the other side on top. After They were glued together I would go back and glue a few of the edges/petals together to make sure the flower was a complete ball.
Making decorations for a party can be tedious, but I also really like doing it. You need to plan ahead and not try to do so much last minute. I did do a lot of things the last week and it was stressful, but it all looked great in the end. I always suggest borrowing items from your house if you can because it makes the party feel more homey and less store bought. It also saves a little money if you can use what you already have. If you are on a budget you have to get creative to get the perfect look, but most of the time it’s doable.
Once again, the wedding is only 6 days away. I am currently breaking in my heels and I am going to pick up my dress from alterations as soon as I post this. I can’t wait to tell you all about the big day and also to show you the dress!!!!!
